Poisons destroy garden flora and fauna.
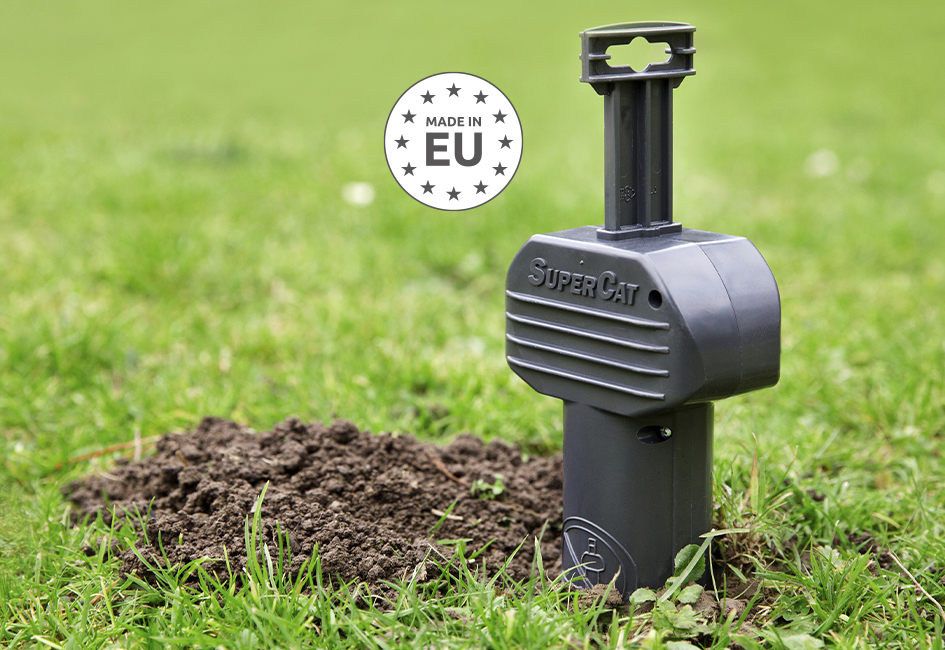
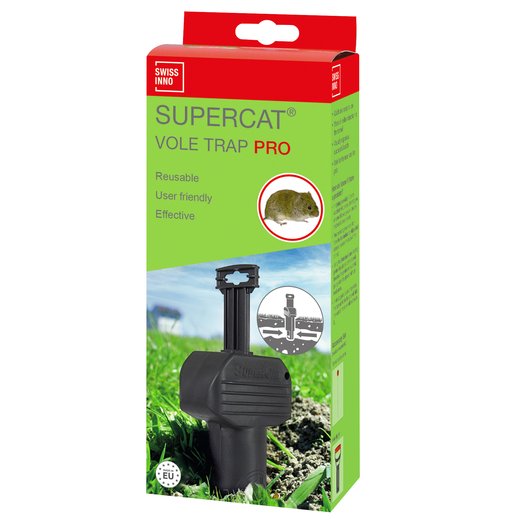
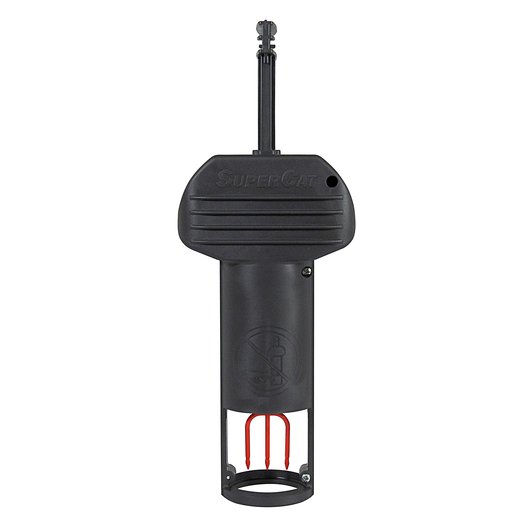
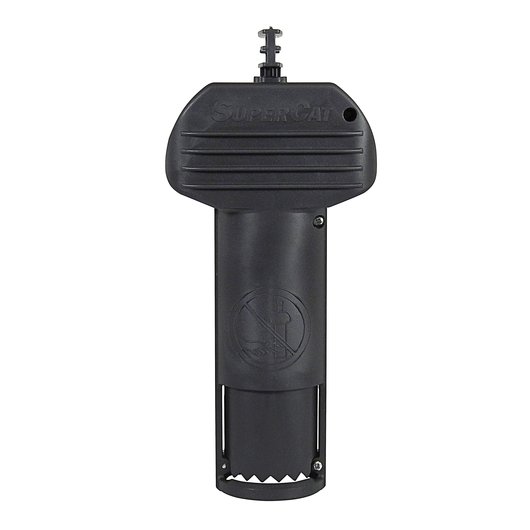
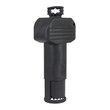
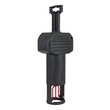
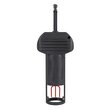
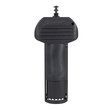
Vole trap PRO SuperCat works specifically against field mice and voles without collateral damage.
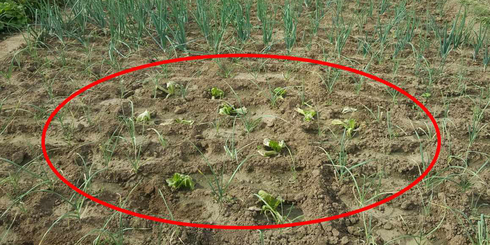
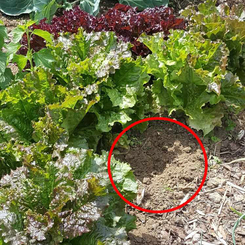
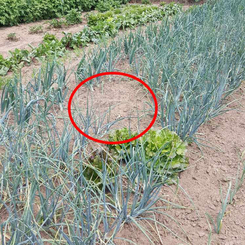
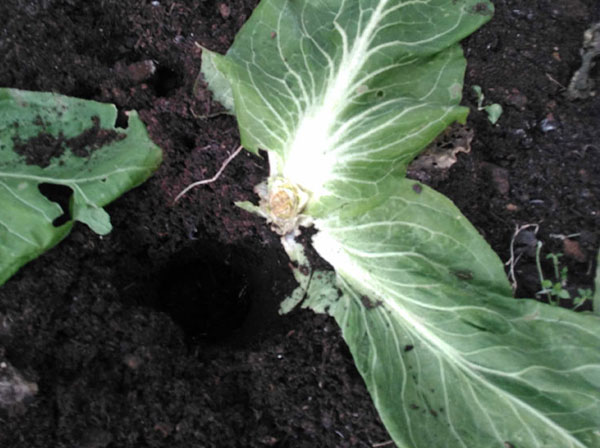
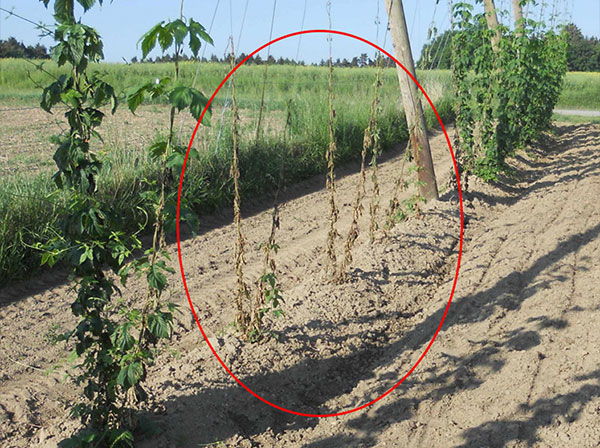
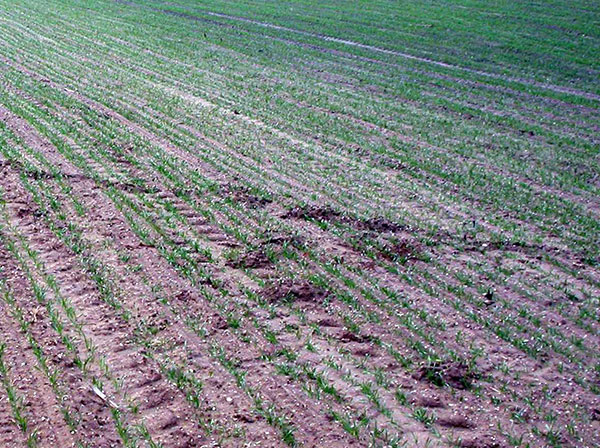
Voles eat your plants!
Direct control prevents irreparable damage and crop failure.
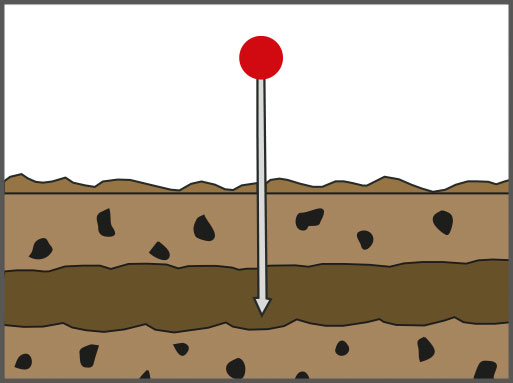
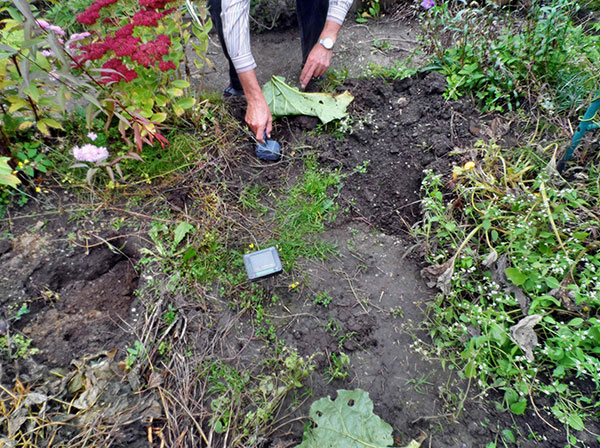
1. Find the pests tunnels.
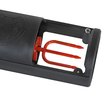
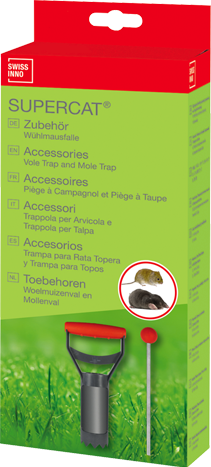
A vole trap accessory set is available separately and comprises a tunnel locating probe and a 6 cm hole cutter.
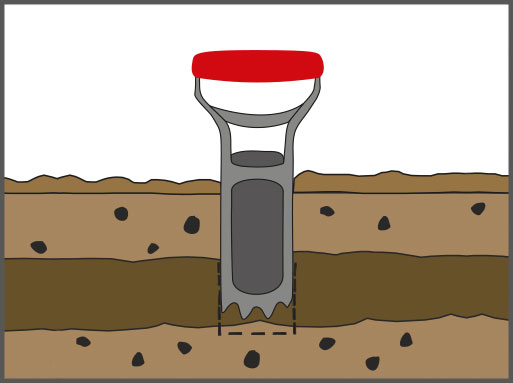
2. Cut a hole into the tunnel.
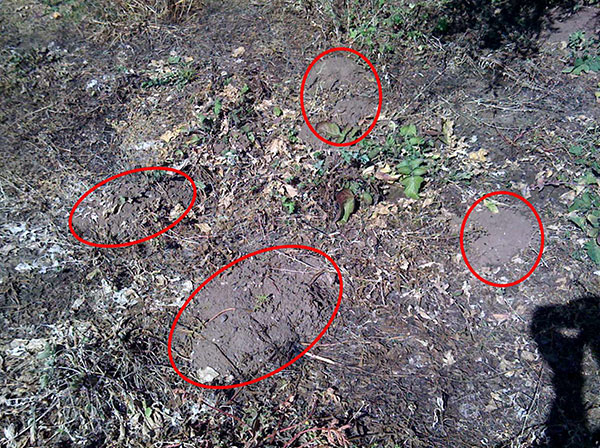
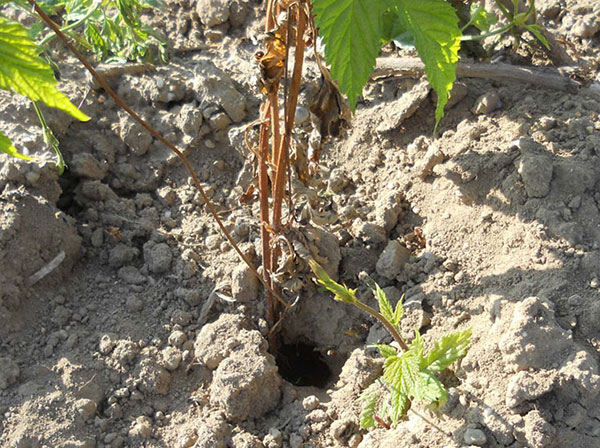
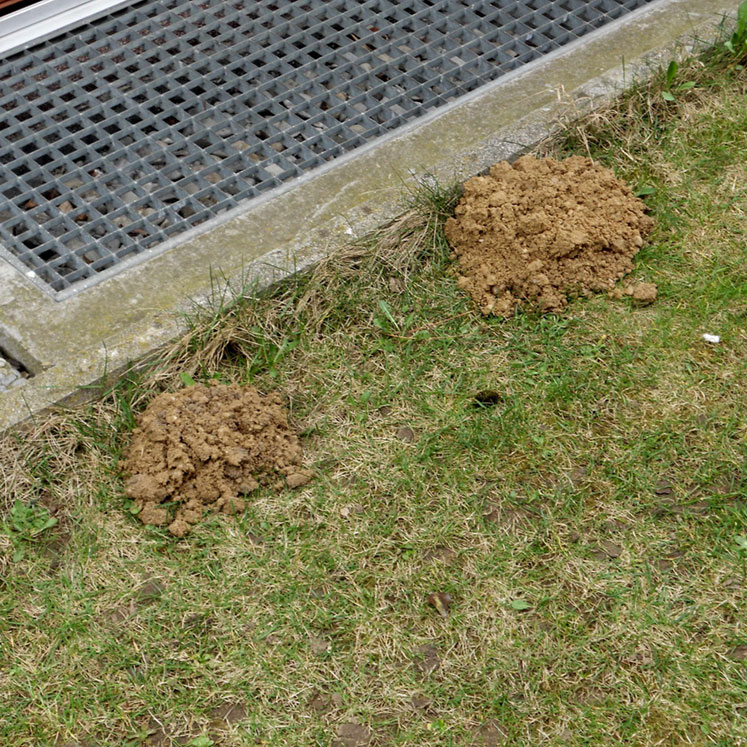
To find a tunnel work along a line between two earth-mounds and/or visible tunnel openings as it is likely that a connecting tunnel is there. Push the probe into the ground in many spots and when the probe suddenly slips into the ground very easily you will have located a tunnel. Ideally, the trap should be positioned where the tunnel is straight and level. So check whether your located spot is ideal by probing ahead of it and behind it akong the like of the connecting tunnel.
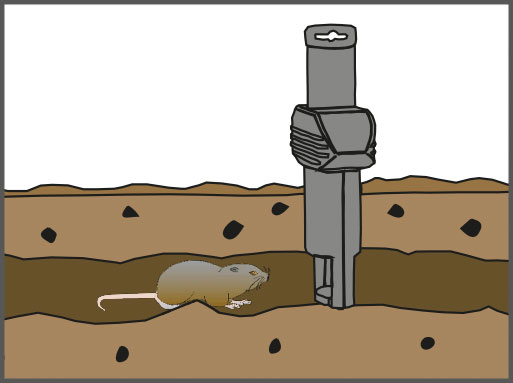
3. Insert the trap.
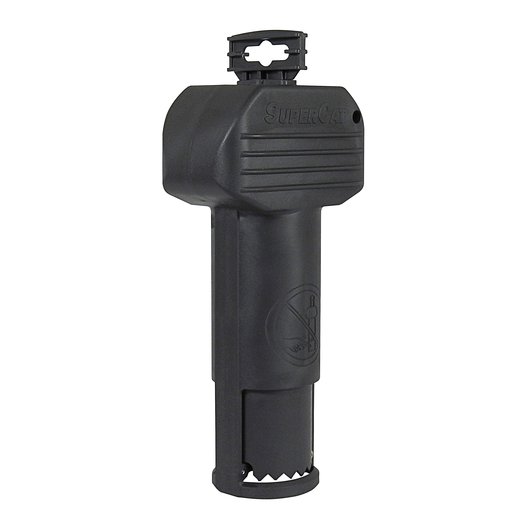
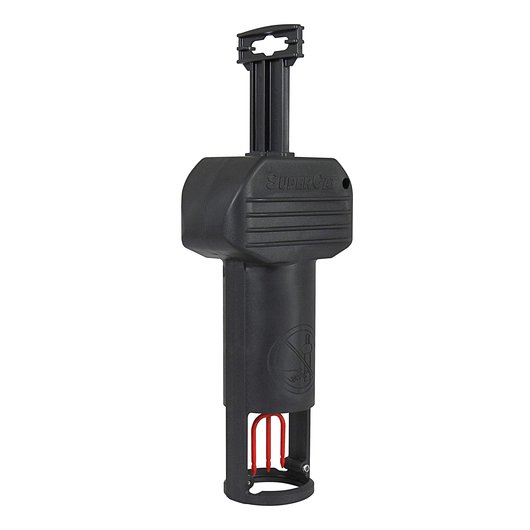
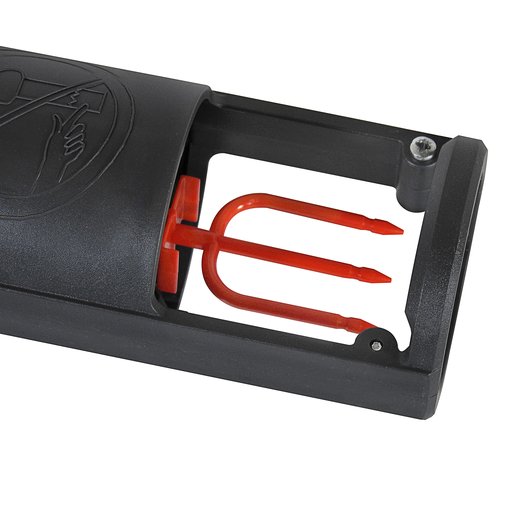
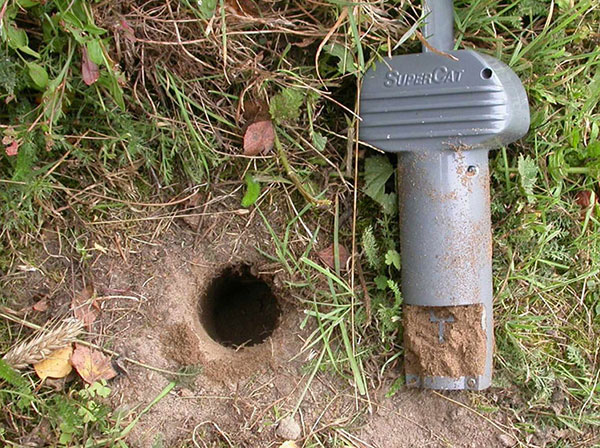
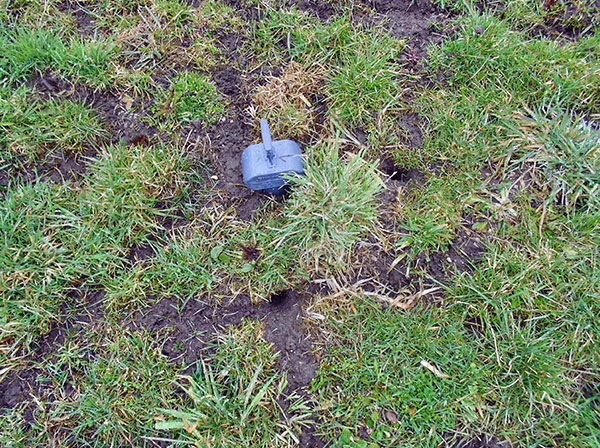
Using the 6 cm hole cutter with a twisting action, cut a neat vertical hole down into the tunnel plus an extra 2 cm down into the floor of the tunnel. Carefully lift out any loose soil from the tunnel, or push it flat into the tunnel floor. Insert the trap into the hole and carefully pull the sprung handle up as far as it will go. It will lock in this position. Make sure the trap openings run in the same direction as the tunnel. Scatter loose leaves or grass round the trap to block out draughts and light. The trap is now set up for action. Check the trap next day at the latest. You will often make a catch in only a few hours. Accessory set (tunnel location probe and hole digger) is separately available.
4. Enjoy your garden vole-free.
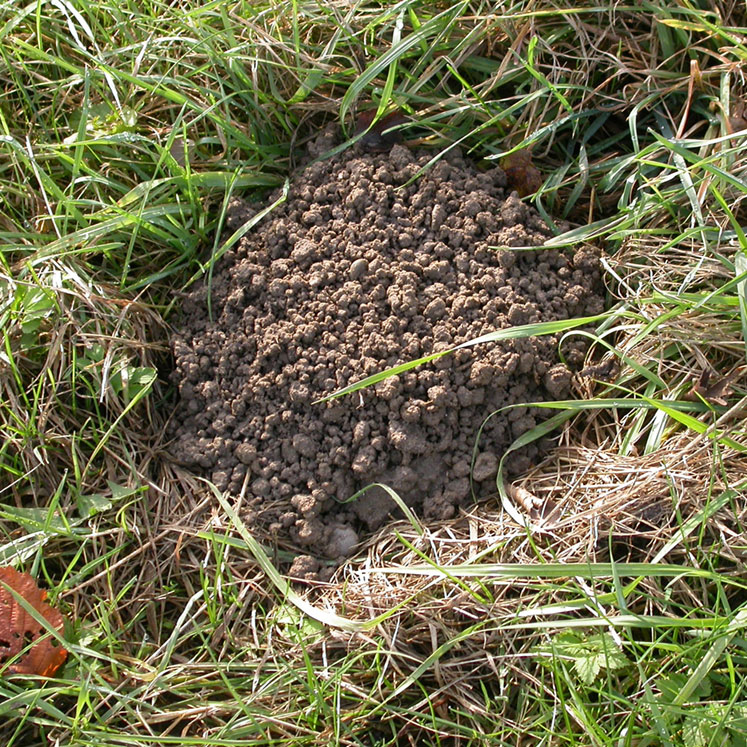
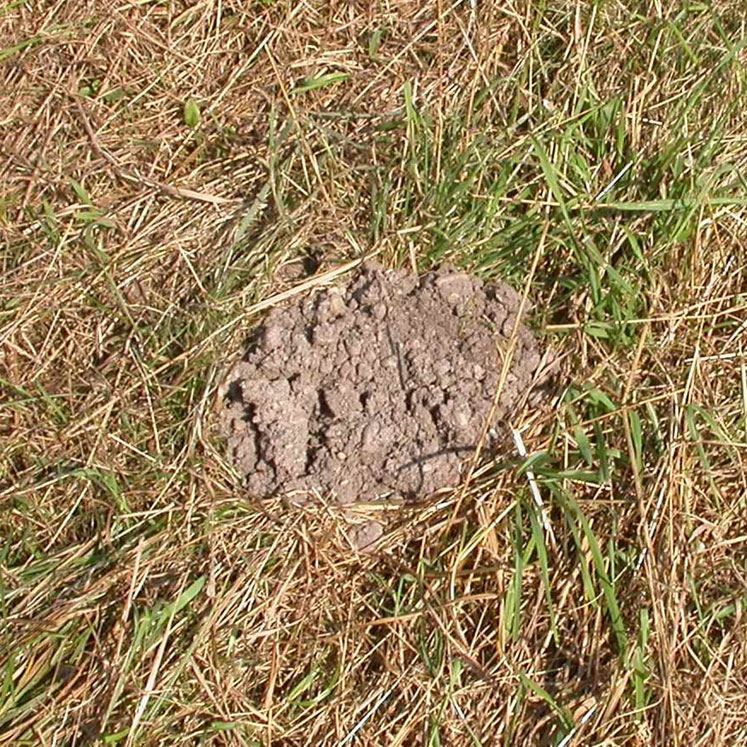
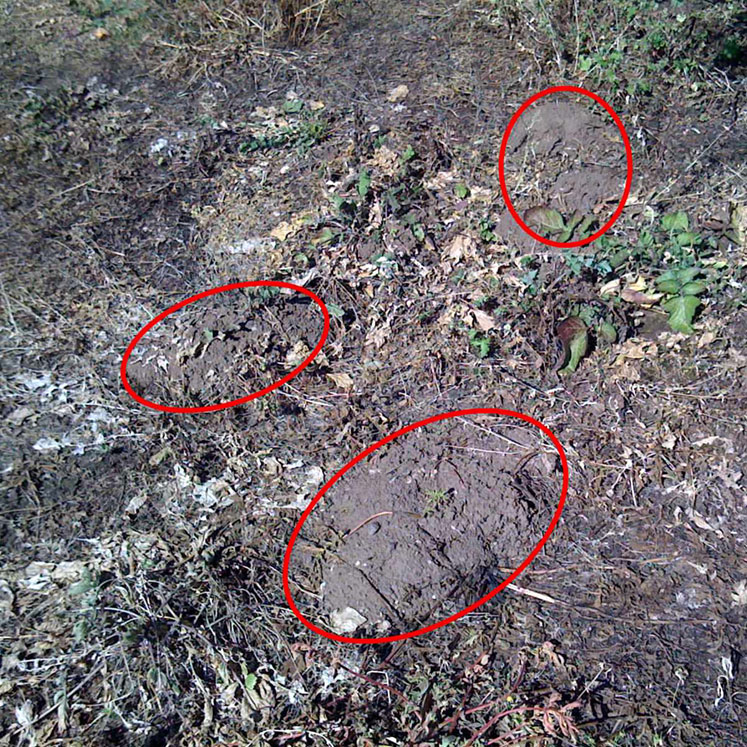
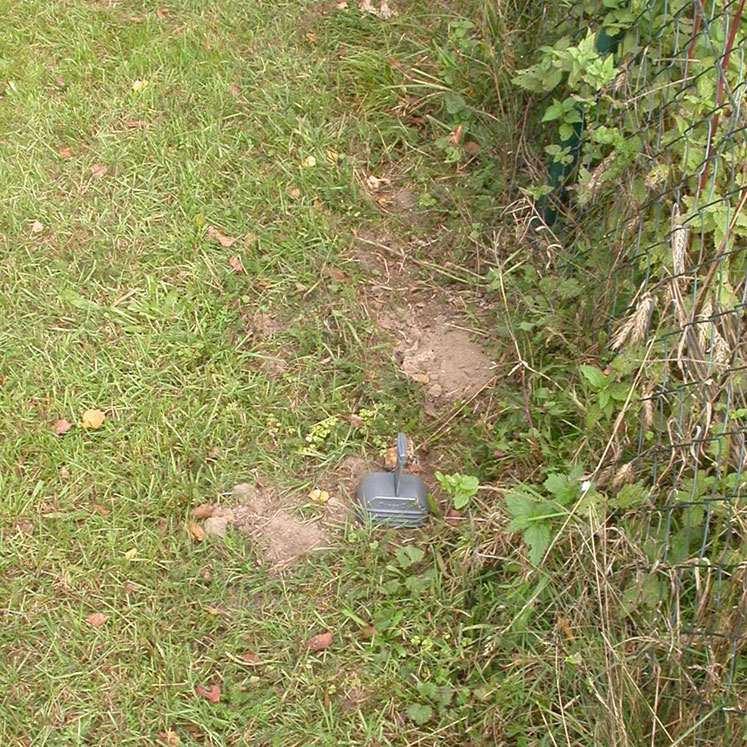
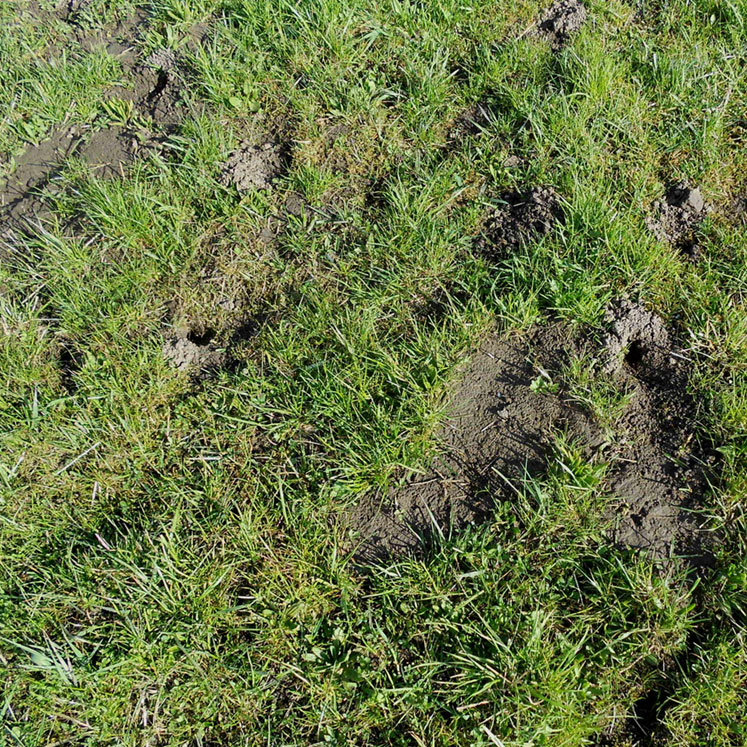
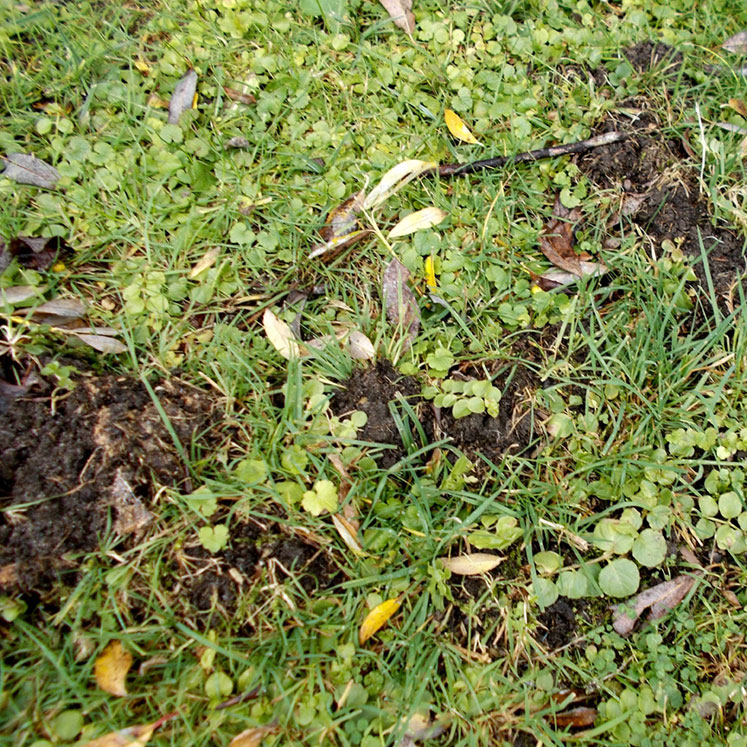
Vole | Mole | |
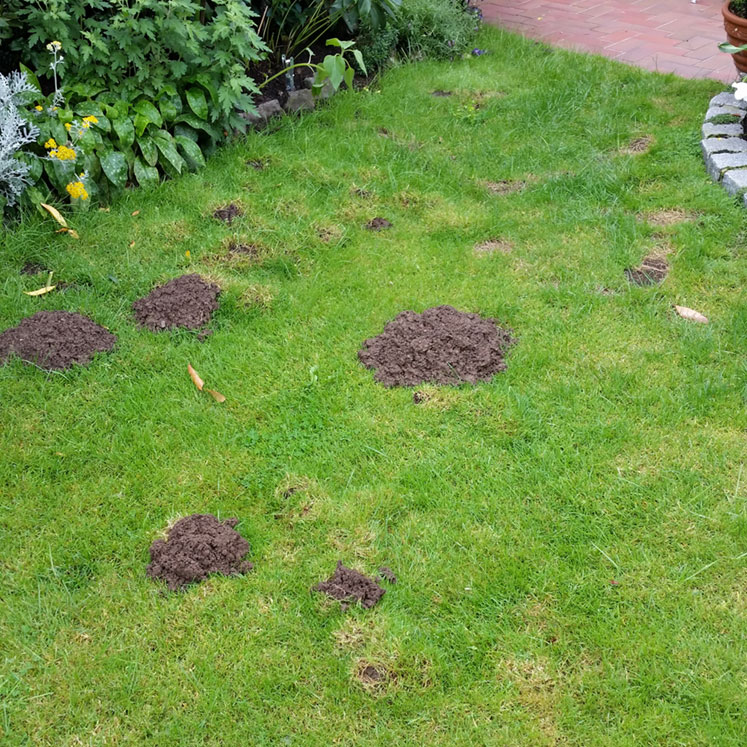
Earth mound |
|
|
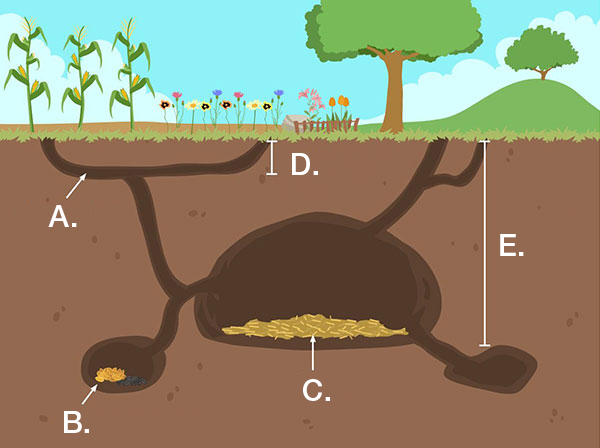
Tunnels |
|
|
Traps should be washed with hot water only. Never use soap, detergents or cleaning products. Traps should never be oiled, even with odourless oils. Oil may prevent traps from functioning properly.
Probably a mole in the tunnel has encountered your trap and, because it sees it as an unwelcome intruder, it blocks it up with soil.
Also voles can stuff soil into the trap. But then not as tightly clogged as the mole. In this case, rinse the trap with water and refill after a few days. It can help 15cm in front of and behind the trap to open the aisle with the hole cutter. The additional openings divert the vole from the trap.
Another trick is not only to set the traps, but at the same time to damage the rest of the tunnel system as much as possible. Kick down all piles of earth and damage lower gears with the search bar. This massive disruption can also distract from the trap. If all that does not help, experienced trappers sometimes change the trap if it does not work with this model.